Before you begin. This procedure is general reference information, not professional advice. Equipment varies by manufacturer, model, and year. Always follow the documentation supplied with your equipment — where it differs from this page, follow the manufacturer. Verify that you have the tools, the working conditions, and the ability to do this task safely. If anything is unclear, if the equipment is damaged, or if the task exceeds your experience, stop and use a qualified professional. You are responsible for your own safety and for the outcome. This site accepts no liability for any loss, damage, or injury arising from the use of this information.
Specifications marked unverified could not be traced to a manufacturer source. Do not rely on them — obtain the value from your equipment documentation.
Summary
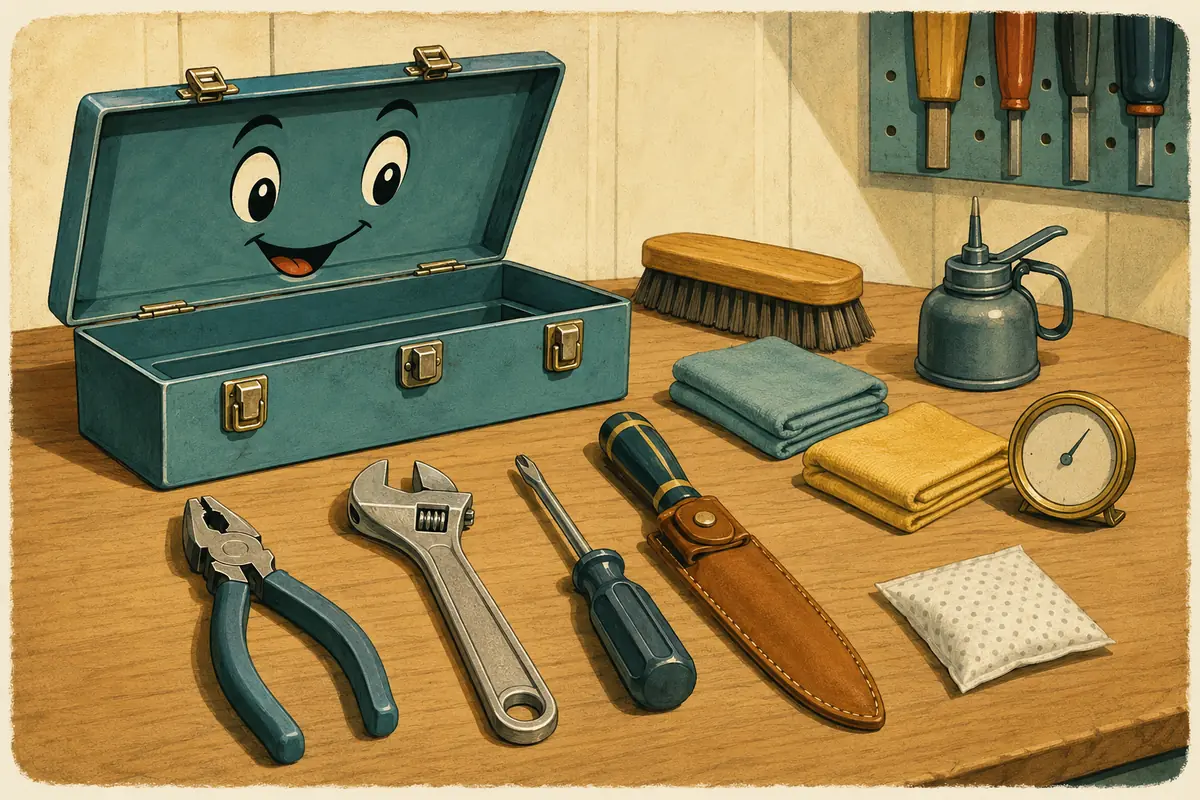
Rust on a hand tool is almost never a failure of the tool. It is water, left on bare steel, in a space that spends half the year damp. The fix is a ten-minute routine at the end of a job — get the dirt off, get the tool completely dry, put a thin film of something on the steel, and store it somewhere that is not the coldest corner of the garage.
The part worth reading carefully is which product goes where. Channellock's published answer is blunt: you can use WD-40 to surface clean pliers, but not to lubricate the joint, because it strips the grease out and makes a tight joint worse — use 3-IN-ONE oil in the joint instead. Leatherman, asked the same question about its own pivots, names a PTFE or Teflon-based lubricant. Those are two manufacturers giving two different answers for the same part of the same kind of tool, and this page does not average them into a house recommendation.
The storage advice comes from a different direction. The National Park Service publishes what it takes to stop steel corroding in a collection store, and the numbers are instructive even though nobody runs a garage that way: it is the relative humidity that matters, cold spaces are worse than warm ones because of condensation, dust holds moisture against the metal, and foam, felt and wool are named as sources of the sulfur that tarnishes metal. That last one is a surprise to most people lining a drawer.
Necessary equipment
| Item | Note |
|---|---|
| Stiff brush | Use a stiff brush to remove the dry soil. |
| Two clean cloths | Use one cloth for the wash and one cloth for the dry. |
| Eye protection | Wear eye protection when you use a wire brush. |
| Wire brush optional | Use a wire brush on hard soil only. |
| Hygrometer optional | A hygrometer shows the relative humidity in the storage space. |
| Mild detergent material | Leatherman gives a mild solution of detergent and water for its tools. |
| Lubricant for the joints material | The manufacturers do not agree about this lubricant. Use the lubricant for your own tool. |
| Light oil for the steel material | A thin film of oil is a barrier between the steel and the water. |
| Desiccant material | A desiccant decreases the relative humidity in a closed box. |
Sort the tools
Estimated 5 min
- Put all the tools on a work surface.1mReport a problem with step 1, Sort the tools
- Keep the tools apart from each other.
- Water moves from a wet tool to a dry tool.
DO NOT USE A TOOL WITH A CRACKED HANDLE OR A DAMAGED HEAD.
A part of the tool can break and injure you.
- Examine each tool for damage.3mReport a problem with step 2, Sort the tools
- Look for a crack in the handle.
- Look for damage at the head of a striking tool.
- Look for a bent or broken jaw.
- OSHA makes an employer responsible for the safe condition of a tool.
- Keep a damaged tool apart from the other tools.1mReport a problem with step 3, Sort the tools
- Speak to the manufacturer about a repair.
- Discard a tool that the manufacturer cannot repair.
Clean the tools
Estimated 13 min
No tier-1 source was found for this value. Take it from the documentation supplied with your equipment.
- Remove the dry soil with the stiff brush.2mReport a problem with step 1, Clean the tools
- Brush the jaws and the joint of a plier.
- Brush the teeth of a saw in the direction of the teeth.
WEAR EYE PROTECTION BEFORE YOU USE A WIRE BRUSH.
A wire from the brush can go into your eye and injure it.
- If the soil is hard, remove it with the wire brush.3mReport a problem with step 2, Clean the tools
- Move the wire brush away from your body.
- Do not use a wire brush on a plated surface.
KEEP THE SOLVENT AWAY FROM HEAT AND FROM FLAME.
Mineral spirits can catch fire and burn you.
DO NOT USE ACETONE OR BRAKE CLEANER ON A TOOL WITH PLASTIC PARTS.
Leatherman says that these solvents can cause damage to plastic components.
- If the tool has tar or an adhesive, use a solvent.3mReport a problem with step 3, Clean the tools
- Leatherman gives turpentine or mineral spirits for tar on its tools.
- Use the solvent in a space with good ventilation.
- Read the documentation for your own tool before you select a solvent.
HOLD A BLADE OR A CHISEL BY THE HANDLE ONLY.
The edge is sharp and can cut your hand.
- Wash the tool with a mild solution of detergent and water.3mReport a problem with step 4, Clean the tools
- Leatherman gives this solution for debris between the blades of its tools.
- Do not put a tool with a wooden handle in water.
- If the tool touched salt water, rinse it with fresh water.2mReport a problem with step 5, Clean the tools
- Leatherman gives this rinse for a tool from a marine space.
- Salt increases the rate of corrosion.
Dry the tools
Estimated 8 min to 1 hr 3 min
- Dry the tool with the second cloth.3mReport a problem with step 1, Dry the tools
- Dry the joint and the recesses first.
- Water stays in a joint after the outside is dry.
- Let the tool become dry in warm air for one hour.5mReport a problem with step 2, Dry the tools
- Do not use a heat gun on a tool with a plastic handle.
- Open a plier fully to let the air into the joint.
Protect the steel
Estimated 8 min
No tier-1 source was found for this value. Take it from the documentation supplied with your equipment.
DRY THE TOOL COMPLETELY BEFORE YOU APPLY THE OIL.
Water below an oil film continues to make corrosion.
- Apply a thin film of light oil to the bare steel.4mReport a problem with step 1, Protect the steel
- Put the oil on a cloth.
- Move the cloth along the tool.
- Leatherman gives a light oil for a tool that touched salt water.
- A thick film of oil holds dust.
- Apply the lubricant that your manufacturer gives to the joint.3mReport a problem with step 2, Protect the steel
- Channellock gives the 3-IN-ONE oil for the joints and the channels of its pliers.
- Channellock refuses WD-40 in a joint, because it can remove the grease.
- Channellock permits WD-40 on the outside surface of a plier.
- Leatherman gives a PTFE lubricant or a Teflon lubricant for its pivots.
- These two manufacturers do not agree.
- Use the lubricant for your own tool.
- Operate the joint ten times to move the lubricant into it.1mReport a problem with step 3, Protect the steel
- Remove the lubricant that comes out of the joint.
Store the tools
Estimated 17 min
No tier-1 source was found for this value. Take it from the documentation supplied with your equipment.
REMOVE THE DUST FROM THE TOOL BEFORE YOU STORE IT.
A layer of dust on the metal holds water.
- Clean the inside of the tool box.4mReport a problem with step 1, Store the tools
- Remove the dust and the metal particles.
- Remove any wet material from the box.
- Put each tool in the box with a space between the tools.5mReport a problem with step 2, Store the tools
- Two tools in contact hold water between them.
- Put a blade in a sheath or a guard.
- Keep the tool box away from the coldest wall of the building.2mReport a problem with step 3, Store the tools
- A low temperature in the storage space gives a higher relative humidity.
- Condensation can then form on the metal.
- This warning comes from the National Park Service.
- If the storage space is damp, add a desiccant to the tool box.3mReport a problem with step 4, Store the tools
- A hygrometer shows the relative humidity in the space.
- Dry the desiccant again at the interval that its documentation gives.
- Examine the tools again after one month.3mReport a problem with step 5, Store the tools
- New corrosion shows that the storage space is too damp.
- Record the date of the last clean.
Terminology
This page uses one term for each item and holds it throughout, as ASD-STE100 requires. Equipment sellers and other guides use the names below for the same parts.
- corrosion
- Also called: rust, rusting, going rusty, surface rust, the orange stuff, tarnish, oxidation
- hand tool
- Also called: hand tools, tools, spanners, wrenches, pliers, tool kit, tool box
- solvent
- Also called: degreaser, cleaner, white spirit, mineral spirits, paint thinner, turps
- lubricant
- Also called: oil, tool oil, 3-in-one, WD-40, penetrating oil, spray lube, grease
- desiccant
- Also called: silica gel, moisture absorber, damp trap, those little packets, dehumidifier bag
- relative humidity
- Also called: humidity, damp, moisture in the air, RH, how damp the garage is
When to use a professional
Do not use a tool with a crack in the handle. Do not use a striking tool with damage at the head. Speak to the manufacturer about a repair, or discard the tool.
Do not do work on a torque instrument. Only a calibration service must do work on a torque instrument.
Do not put a solvent on a tool that the documentation for that tool does not name. Leatherman gives a warning that some solvents cause damage to plastic parts.
Stop if a tool has deep corrosion in the steel below the surface. Deep corrosion makes the tool weaker. Speak to the manufacturer.
Common questions
Can I just spray everything with WD-40 to stop it rusting?
Not into the joints, according to the people who make the pliers. Channellock's published position is that WD-40 is fine for surface cleaning a pair of pliers, but it does not recommend it for lubricating the joint, because it can strip the grease out and make a stiff joint worse. Its recommendation for the joints and channels is 3-IN-ONE oil after cleaning. So the answer is not that the product is bad, it is that the job you are using it for matters: outside surface yes, inside the joint no. Leatherman, for its own pivots, names something different again.
What should I put in a plier joint then?
Whatever your own manufacturer names, and the two we read do not agree. Channellock says 3-IN-ONE oil in the joints and channels. Leatherman says a PTFE or Teflon-based lubricant for pivoting and wear areas on its multi-tools. Both are tier-one manufacturer answers about their own products, and a penetrating fluid, a thin general-purpose oil and a dry PTFE film genuinely behave differently in a pivot. We are not going to split the difference, because there is no product halfway between them.
Why do my tools rust in the garage over winter and not in summer?
Cold is the reason, but not directly. The National Park Service, writing about keeping metal collections from corroding, points out that low temperatures usually produce higher relative humidity and the possibility of condensation on metal surfaces. A cold steel tool in an unheated garage on a mild damp morning is below the dew point, so water forms on it, and that is what rusts it. Moving the box off the coldest outside wall, or into the house, changes more than any coating will.
Is a foam-lined or felt-lined drawer bad for tools?
It may be worse than you think, and this is the least intuitive thing on the page. The National Park Service names sulfur and sulfur compounds as probably the strongest tarnishing agents for metals, and lists foam rubber, carpet padding, paints, wool and felt among the products that generate it. That guidance is written for museum stores rather than for a tool chest, and a lined drawer has real advantages for organisation and protection. But if tools in one particular lined drawer keep coming out dull while the same tools elsewhere do not, the lining is a reasonable suspect.
What humidity should I keep my tool storage at?
There is no domestic number to give you, and we would rather say that than invent one. The only figures we found come from the National Park Service and they are museum figures: keep relative humidity as low as possible, steels will not rust below 15% RH, and in salt air keep it no greater than 35% RH. Nobody runs a garage at 15% RH and the Park Service says as much itself. Use the principle rather than the number — a cheap hygrometer plus a desiccant in a closed box will tell you more about your own space than any published figure will.
Do I need to oil stainless steel tools too?
Yes, and stainless is a description rather than a promise. Leatherman's own maintenance guidance is that its tools should be cleaned, dried and re-lubricated periodically to inhibit rust and corrosion, and it gives a specific instruction for salt water exposure: rinse in fresh water, dry, and lubricate with a light oil. Stainless resists corrosion; it does not refuse it, particularly in a pivot where the alloy is under stress and water sits.
How do I get rust off a tool that has already gone?
That is a different job from this one and this page does not cover it, because none of the manufacturers we read publishes a home rust-removal method for their tools. What the National Park Service does say, and it is worth carrying over, is that cleaning and polishing remove original metal — so an aggressive attack on light surface rust costs you material you cannot put back. Ask your own manufacturer before you take an abrasive to a plated or precision surface. If the corrosion is deep rather than a surface bloom, the tool's strength is the question, not its looks.
Whose responsibility is a rusty or damaged tool at work?
The employer's, in the United States, and it does not matter who bought it. OSHA 1910.242(a) states that each employer is responsible for the safe condition of tools and equipment used by employees, including tools and equipment furnished by the employees themselves. So a personal tool brought onto a job site is still in scope. That is the reason the first section here is inspection and not cleaning: a tool that is not in safe condition does not get cleaned and put back, it gets repaired or retired.
Related procedures
- What humidity should I set my humidifier or dehumidifier to, and how do I check it actually worked
- Why is my dehumidifier running but not collecting water?
Sources
Every specification on this page is traced to one of these sources. Tier 1 is a manufacturer document, a published standard, or a government safety authority. See Standards for the full tiering rule.
- Tier 11910.242 - Hand and portable powered tools and equipment, general
- Tier 1NPS Museum Handbook, Part I, Appendix O: Curatorial Care of Metal Objects
- Tier 1Maintenance Tips
- Tier 1FAQ - CHANNELLOCK
Revision history
Current version 1 · updated 2026-07-29 · next review due 2027-07-29
- v1 · 2026-07-29First draft. Sourced to OSHA 1910.242, the NPS Museum Handbook Appendix O, Leatherman maintenance guidance and the Channellock FAQ, all read on 2026-07-29. No value publishes as verified. The joint lubricant, the solvent and the storage humidity all publish as consult-the-manufacturer; the joint lubricant carries a direct disagreement between Channellock and Leatherman, and the humidity figures are named as museum figures rather than borrowed as domestic ones. Four Klein Tools URLs were not registered: two returned HTTP 403, one is a scanned image with no extractable text, and one is a 2007 Hand Tools Institute booklet that is tier 2, archaic and marked no-reproduction.
Corrections to this page are listed in the public corrections log. Reports that are credible and not yet verified are listed in the public errata register, and an open one renders above the step it concerns.
Comments and corrections
Found an error? A correction with a manufacturer source is applied and logged publicly. You can also write to corrections@fixchecklist.com.
Every step above carries its own report control, which tags the report with that step so a correction reaches the right place. For anything about the procedure as a whole — the order of the sections, a step that is missing, something that did not match your equipment — use this: report something about this whole procedure.